by Kevin
Share
by Kevin
Share

Heating bags for food, often found in self-heating meal kits, offer an incredible convenience: a hot meal without any external power source. However, to unlock this benefit safely and effectively, it’s crucial to understand the correct procedure. These bags rely on a powerful chemical reaction, and using them properly ensures you get a perfectly heated meal while avoiding potential risks. This guide provides a clear, step-by-step process on how to use a food heating bag, backed by safety best practices and an understanding of the science involved.
The Core Principle: Safe Chemical Activation
A food heating bag is not a microwave; it’s a self-contained chemical reactor. Its purpose is to safely direct the heat from an exothermic reaction into your food. The key to using it correctly is understanding that the process involves heat, steam, and pressure. By following the instructions precisely, you control these elements and ensure a successful and safe outcome.
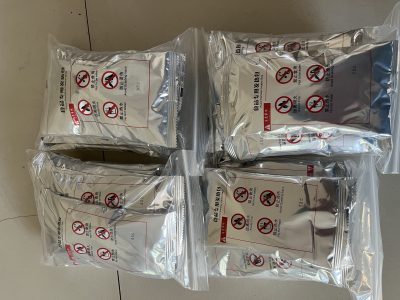
Essential Components of the Heating System
Before you begin, identify the key parts of your self-heating meal kit.
The Food Pouch
This sealed pouch contains your pre-cooked meal. It is designed to be heat-safe and is placed directly inside the heating bag to be warmed.

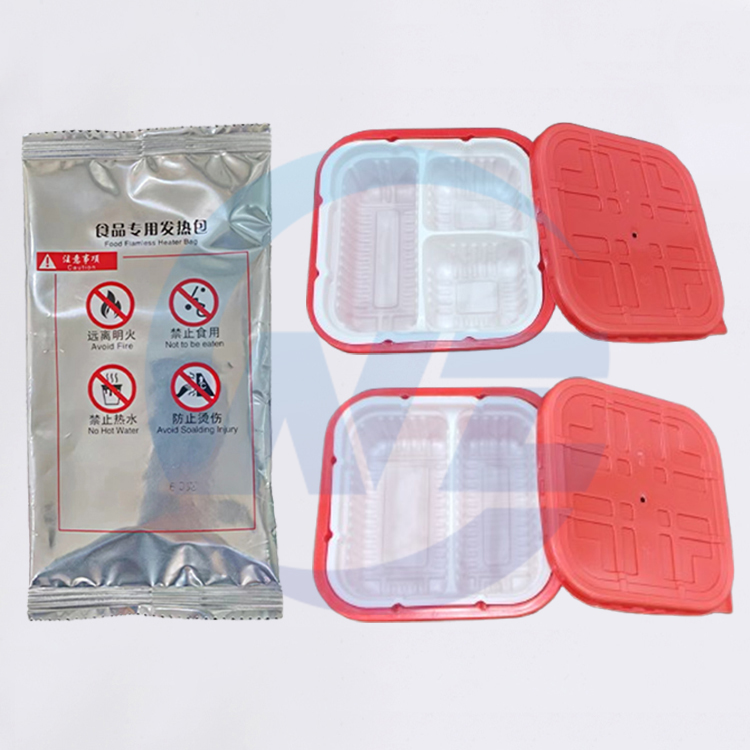
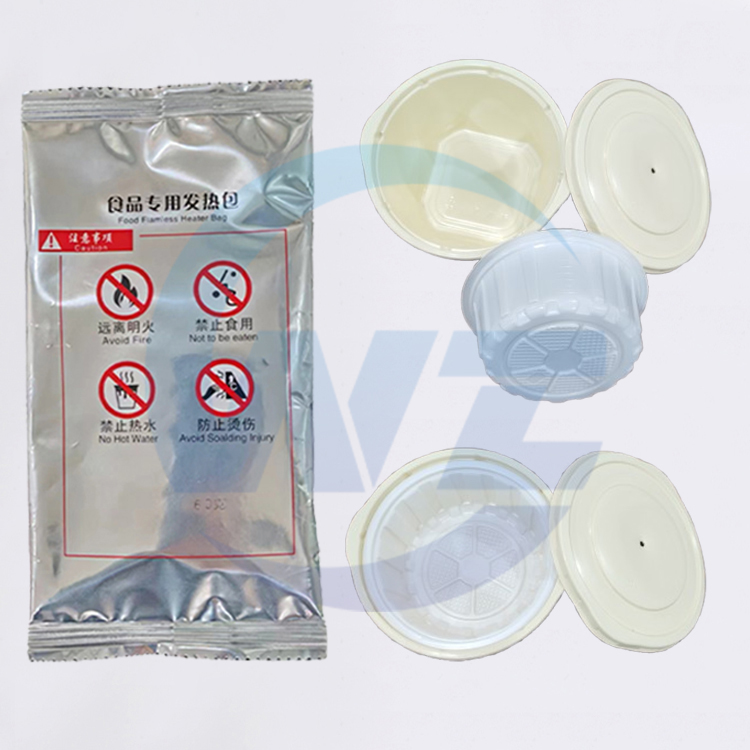
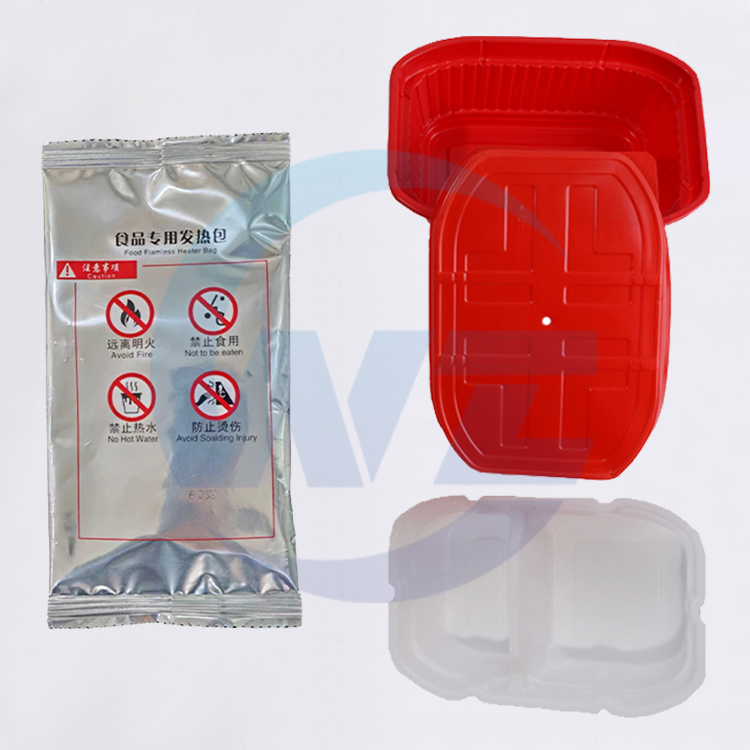
The Heating Bag (or Heater Pouch)
This is the flat, sealed pouch containing the reactive chemicals, typically a mixture of magnesium powder and a salt catalyst. This is the “engine” that generates the heat.
The Water Activator
A small, sealed pouch of water. This is the catalyst that starts the chemical reaction. The amount is pre-measured for safety and efficiency.
The Insulated Outer Container
This is the box or sleeve that holds the entire system. It is a critical safety component that insulates the heat, directs it upwards, and keeps the exterior from becoming dangerously hot.
How to Use a Heating Bag for Food: The Correct Steps
Follow these steps in order for a perfectly heated meal. Always read the specific instructions on your product, as they may vary slightly.
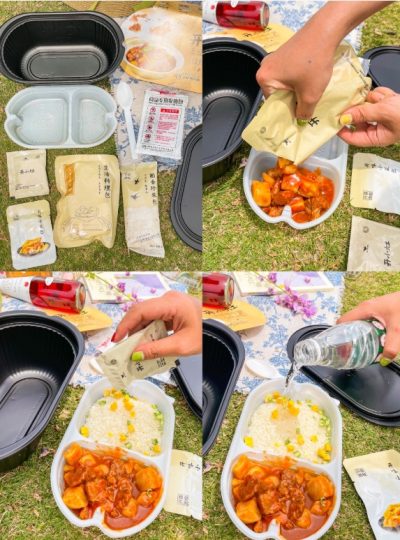
Step 1: Prepare Your Workspace
Find a stable, flat, and heat-resistant surface like a rock, a table, or the ground. Remove the food pouch, heating bag, and water packet from the outer container.
Step 2: Initiate the Reaction
Place the unopened heating bag flat at the bottom of the outer container. Carefully tear open the water packet and pour the entire contents onto the heating bag. You will immediately hear a gentle fizzing sound as the reaction begins.
Step 3: Position the Food
Place the sealed food pouch directly on top of the now-activated heating bag inside the container. Ensure it is centered and sitting flat.
Step 4: Seal and Wait
Close the lid of the outer container securely. This traps the heat and steam, directing them into the food. Wait for the time specified in the instructions (typically 10-15 minutes). Do not open the lid during this time.
Step 5: Open and Enjoy Safely
After the waiting period, carefully open the lid by pointing it away from your face and body to allow any residual steam to escape. The food pouch and heating element will be extremely hot. Remove the food pouch, open it, and stir your meal before eating.
Conclusion
A heating bag for food is a powerful tool for convenience, but its power must be respected. By understanding the simple science and following the step-by-step instructions, you can safely and reliably enjoy a hot meal anywhere. The process is designed to be simple, but every step—from adding the correct amount of water to opening the lid carefully—is crucial for a safe and enjoyable experience. Master this process, and you unlock a world of hot meal possibilities.
If you are unsure about any part of the process or have questions about the specific product you are using, please contact us. We will provide you with reasonable and suitable guidance based on your product. If you are not sure, you can also consult us. We will provide you with professional services to answer your questions. You are welcome to consult us at any time!
STAY IN THE LOOP